Your first image
Open an image from the home screen, then add a segmentation mask and a cell table to it.
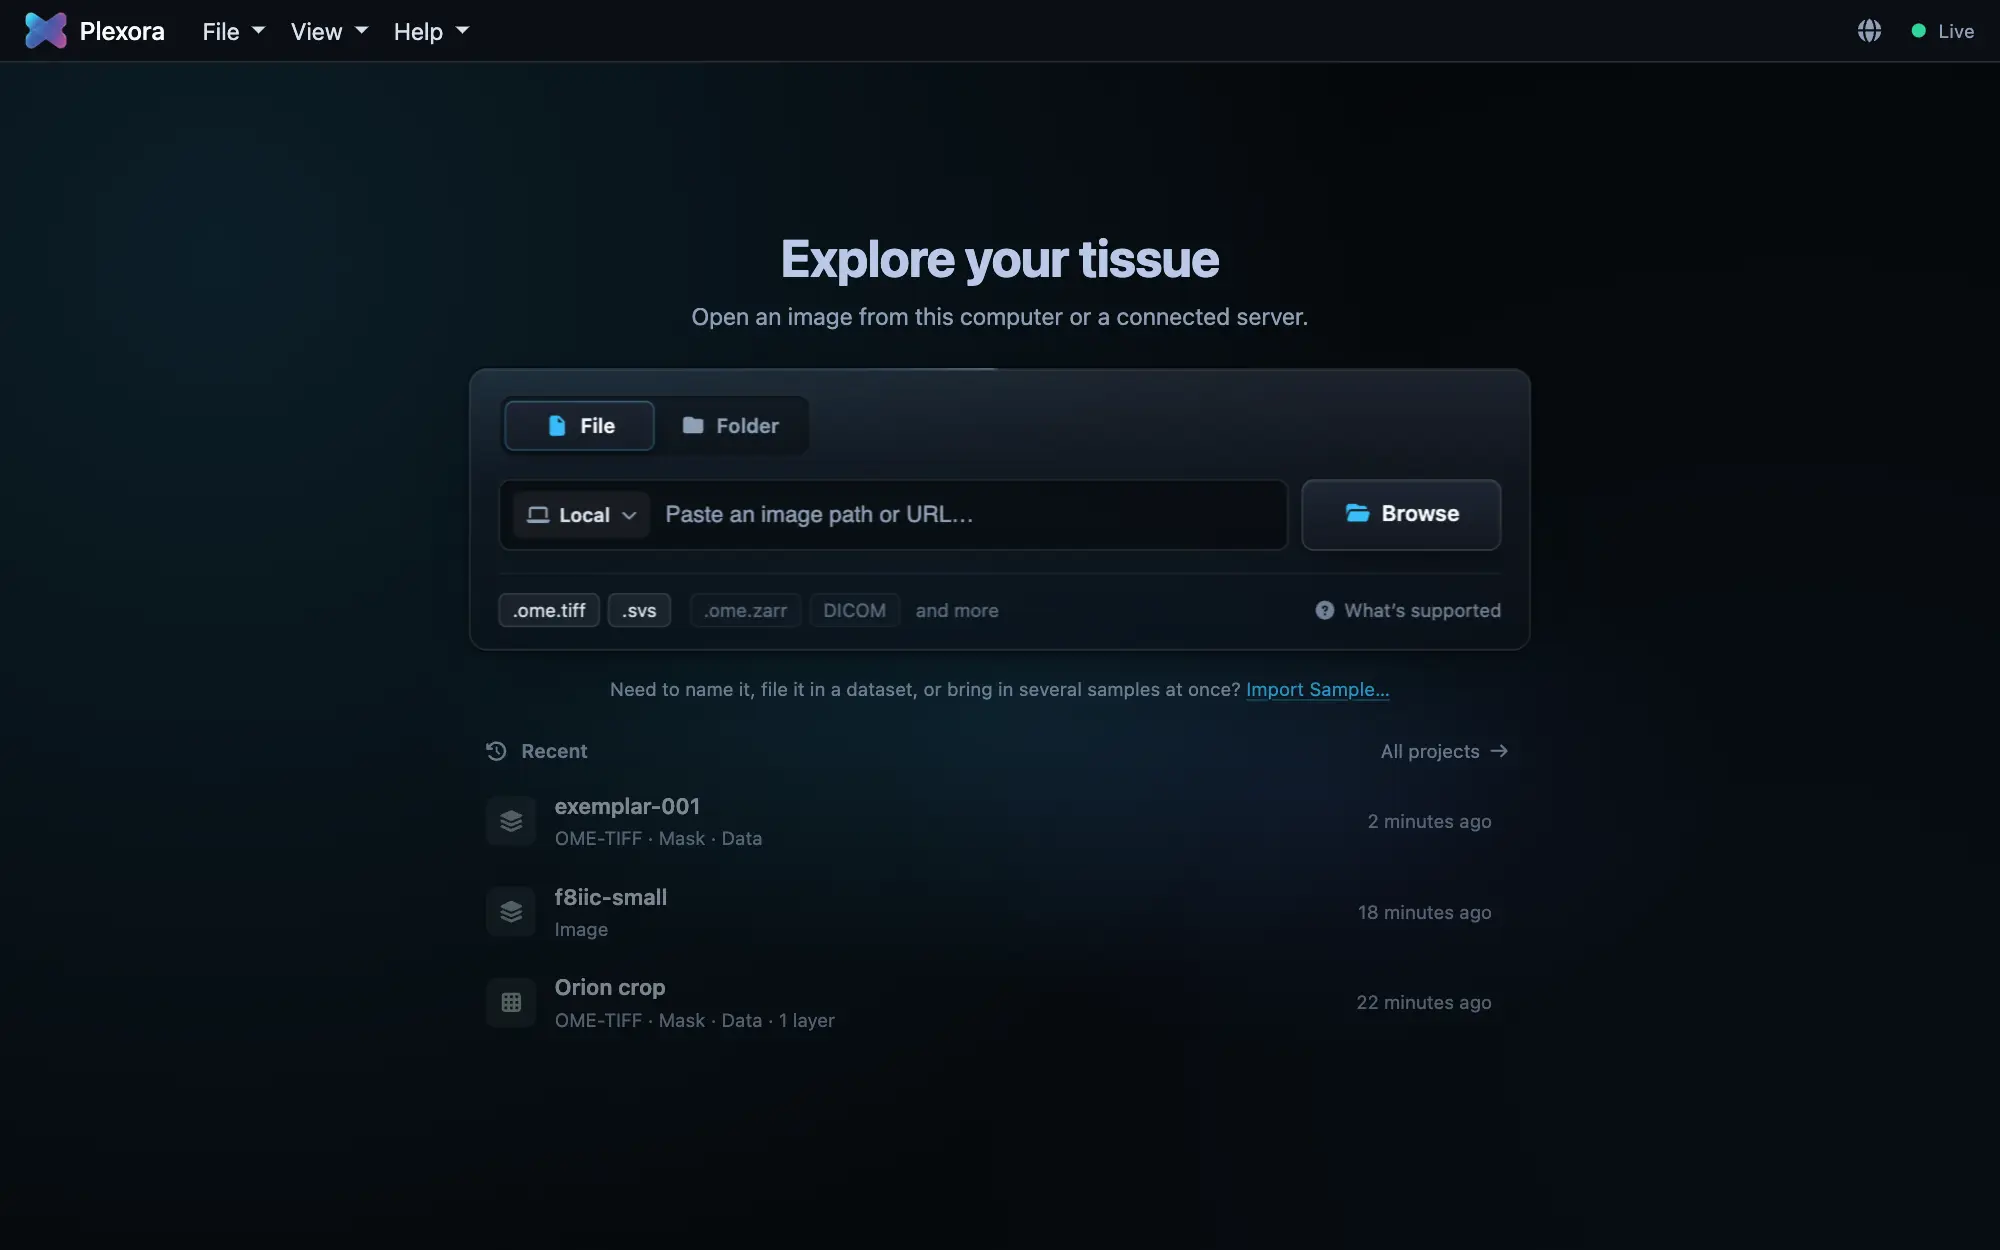
Plexora opens on its home screen, Explore your tissue. Paste a path or browse to an image and it opens in the viewer. Your original files are read where they are and never changed.
How to use it
Choose the image
Choose File or Folder above the box, then press Browse. Or paste a path or URL into the box and press Load. The Local chip says which computer the file is on.
Look at the channels
The viewer opens with a few channels on. In the sidebar's Image card, turn rows on and off and pick each row's colour. See Channels and contrast.
Add a mask and a cell table
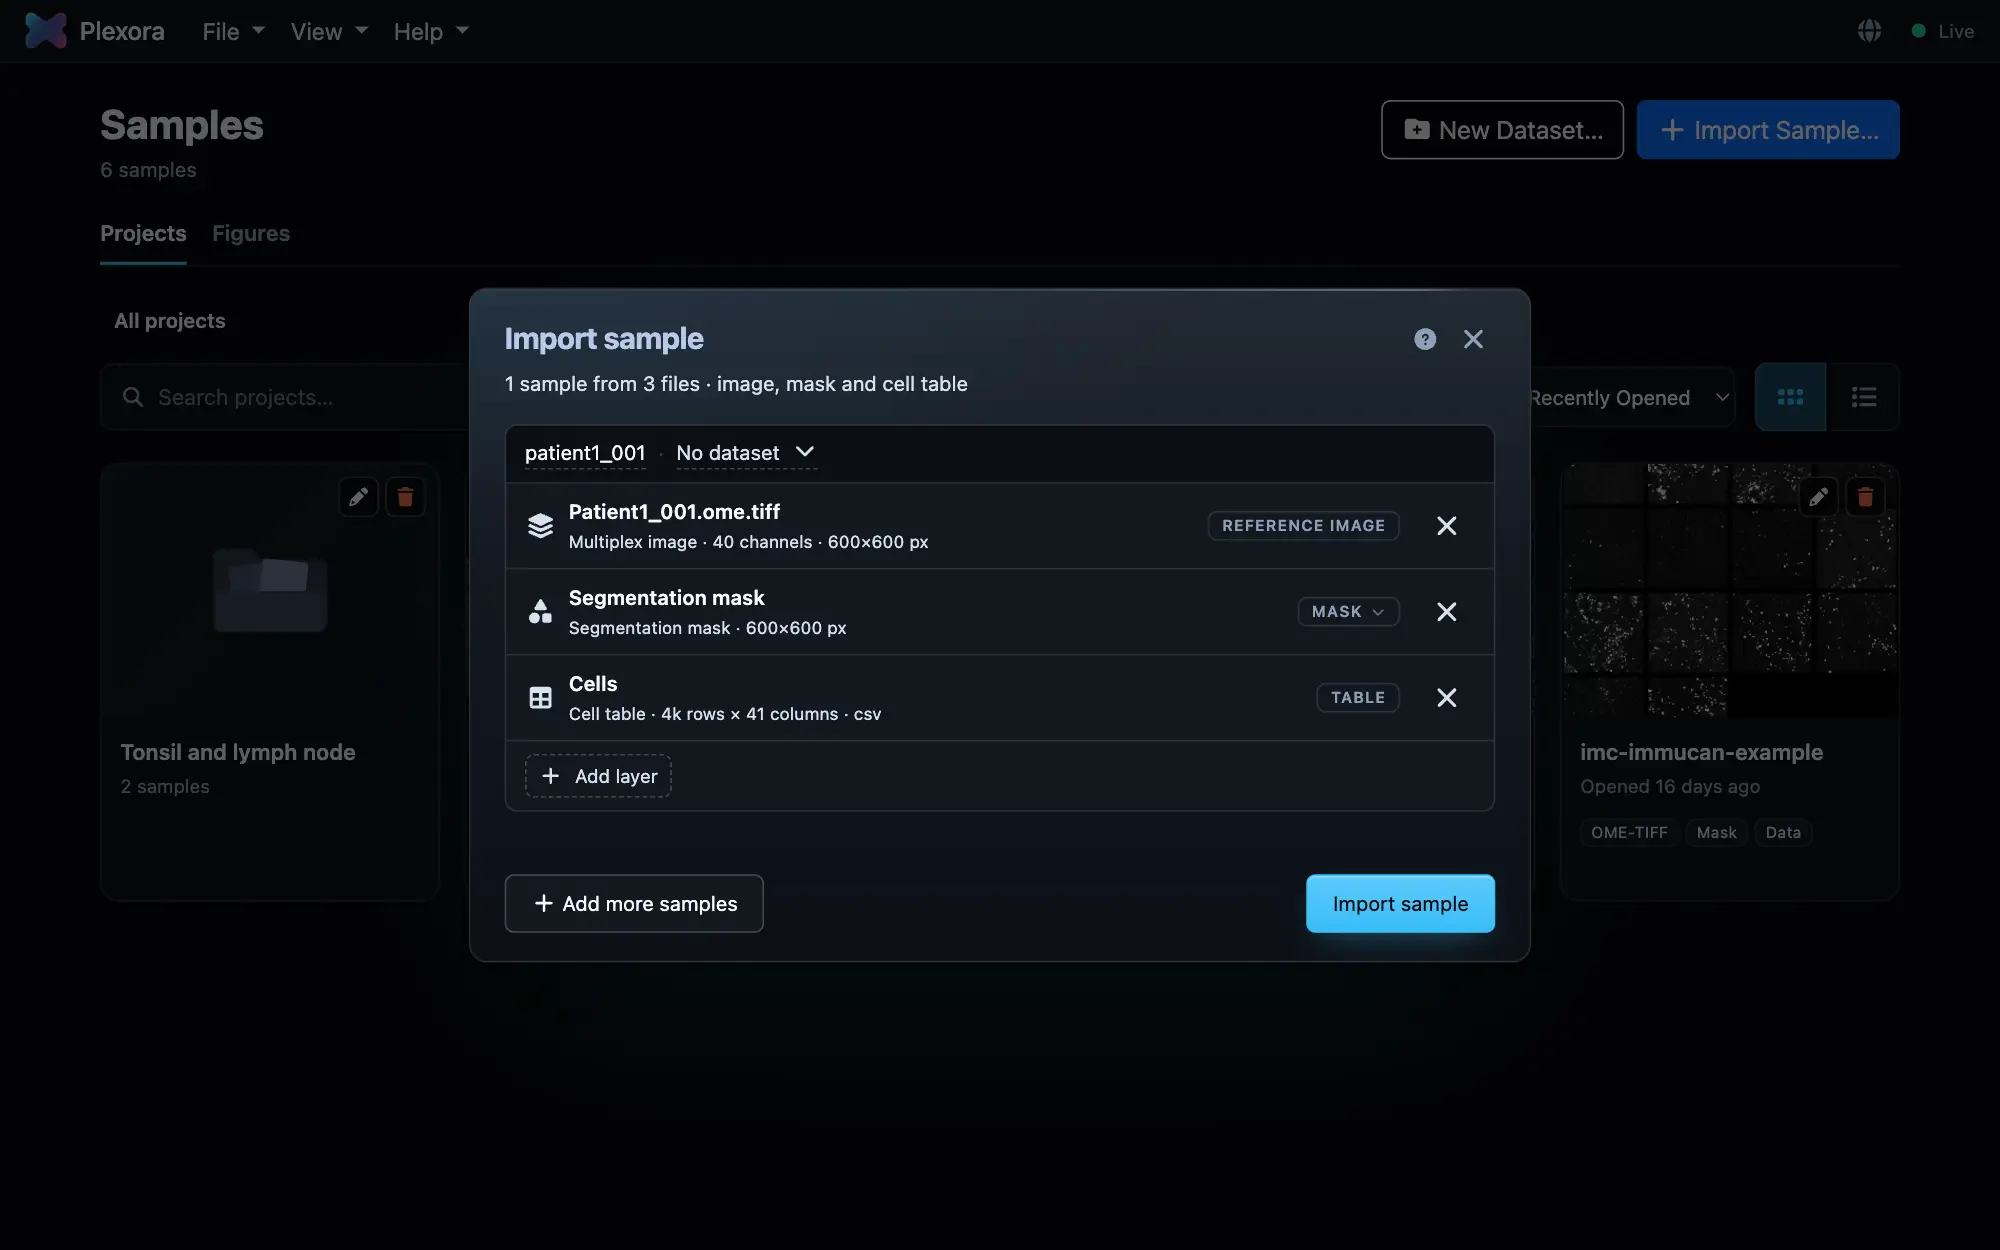
To bring an image in with its segmentation mask and cell table, use Import Sample… instead: under the box on the home screen, or in the File menu (⌘I, Ctrl+I on Windows and Linux). Add the files, check what each one was read as (Image, Mask, Table), and press Import sample.
Keep working while it prepares
The sample opens at once. A mask is converted for viewing in the background, and its cells appear when that finishes.
Open it again later
It is listed under Recent on the home screen and on the Samples page (File › Samples…, ⌘O).
Tips
- An image alone is a complete sample. You can add a mask or a table later from the sidebar's Cells row or the + on Layers.
- A row that was read as the wrong thing has a button to change what the file is.
- The ? beside the dialog's title, and What's supported on the home screen, list every format Plexora reads.