Remote servers
Open images that live on a lab server, a cluster or a cloud machine, without copying them to your computer.
Large images usually live where they were made: a cluster's scratch space, a lab server, a university file server, a cloud bucket. Plexora leaves them there. It reads each file where it is, a piece at a time, and shows it on your computer next to your own projects.
Ways in
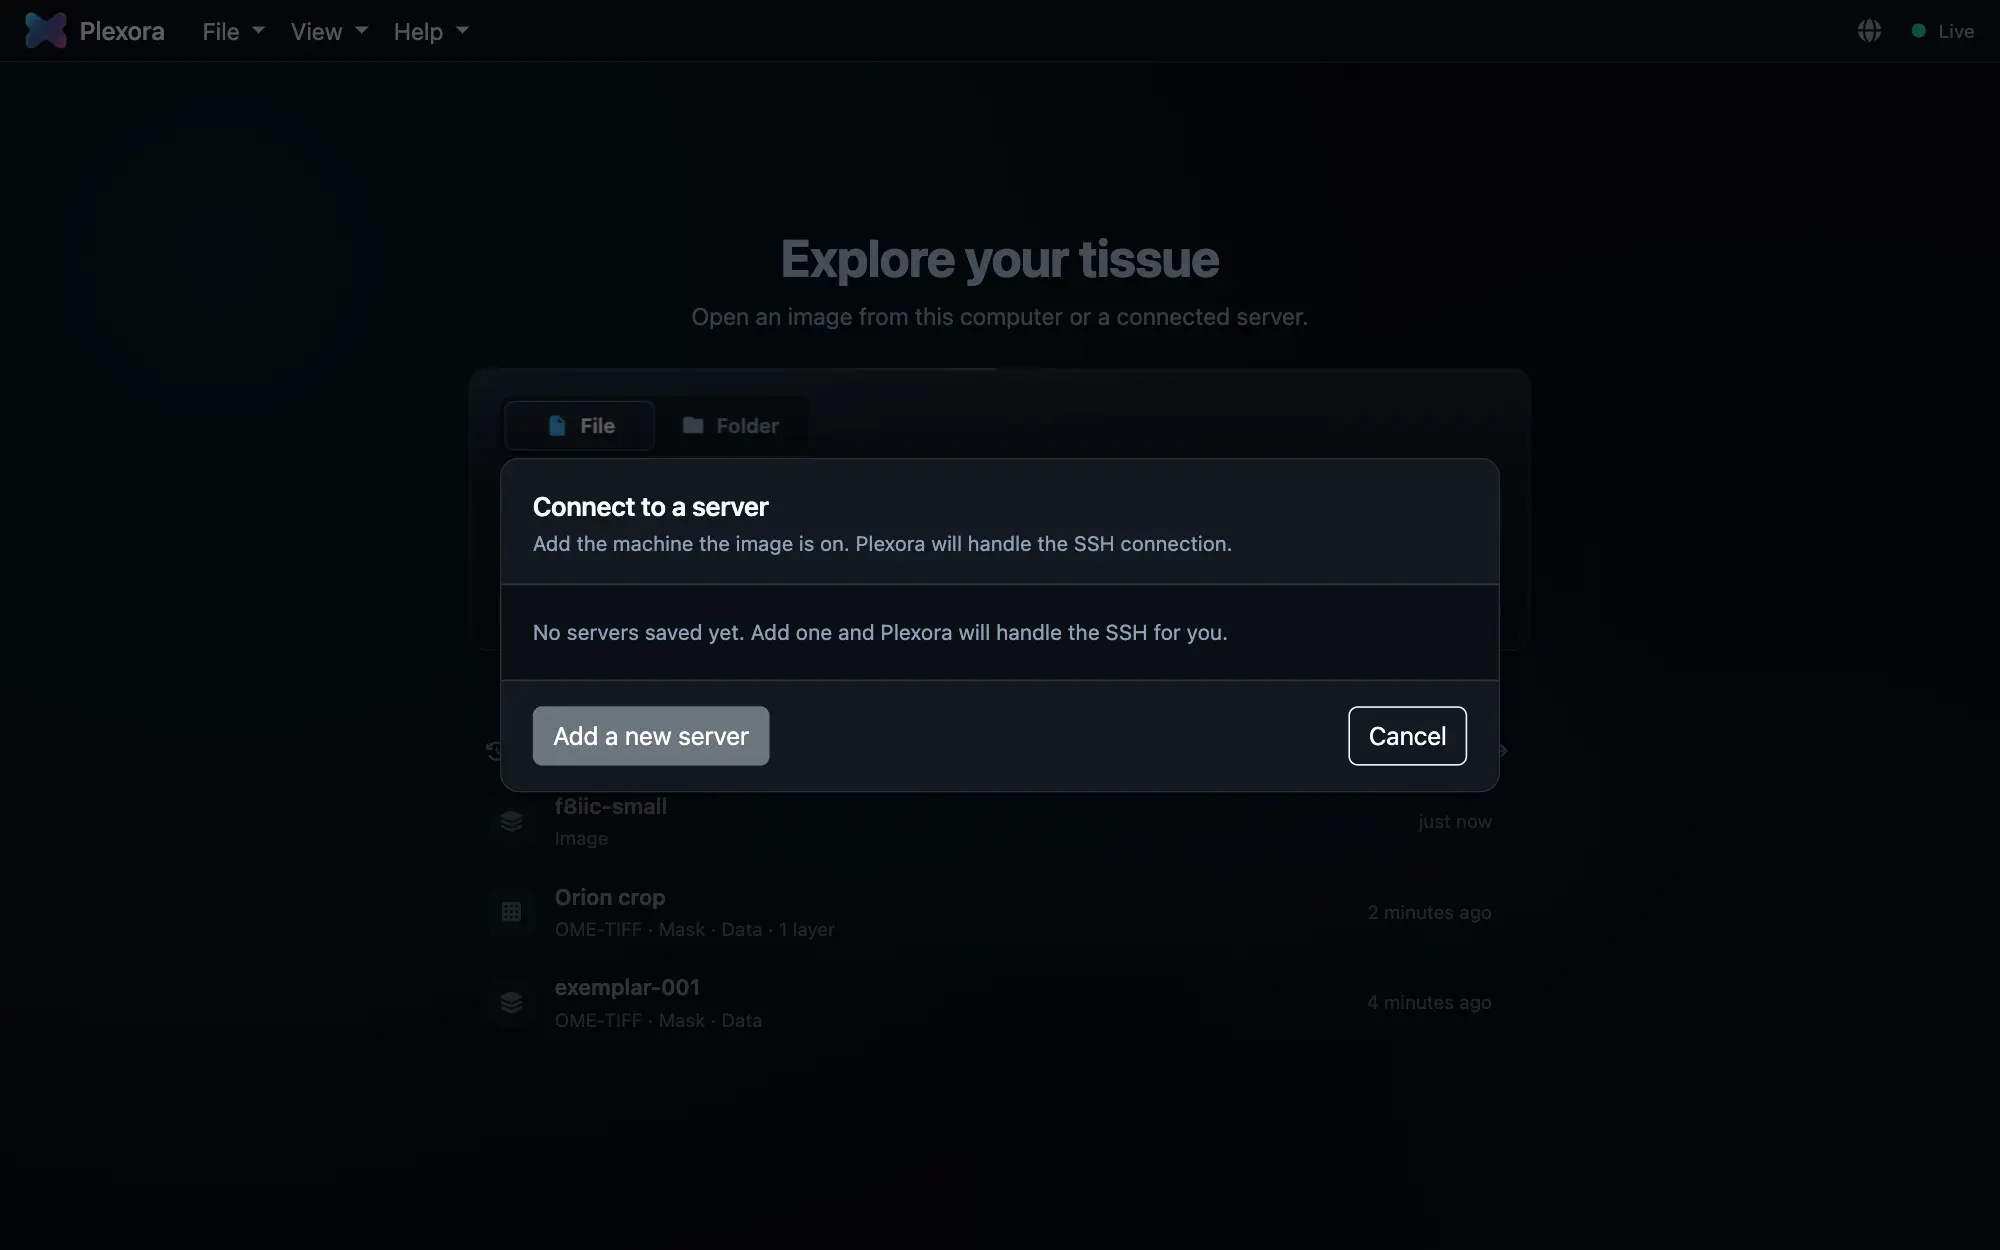
Add a server
Save a machine once from the home page or Settings, then pick its files like local ones.
Connect from the website
The same servers from the Plexora website, with nothing installed on your computer.
SLURM clusters
Plexora asks the scheduler for a job and connects to it when it starts.
Files over SFTP
Read images from a machine where nothing can be installed.
Data nodes
One project whose image, mask and table come from different machines.
Connect from a terminal
Run Plexora itself on a server with plexora connect.
JupyterHub and Open OnDemand
Plexora inside a hub session or a notebook on the cluster.
Google Cloud
Mount a Cloud Storage bucket on a VM Plexora starts for you.
What stays where
| On your computer | On the remote machine |
|---|---|
| Projects, datasets and their settings | The image, mask and table files |
| Regions, gates and quality-control results | A data node or Plexora, while you are connected (not for SFTP) |
| Figures and exports | Nothing that Plexora writes, unless you ask for it |
The desktop app connects with your system ssh, so your keys, your ~/.ssh/config, jump hosts and Duo prompts work as they do in a terminal. Nothing is opened to the network: every connection is an SSH tunnel. The website signs in from the page and reaches the server's data through an encrypted relay; see Connect from the website.
Tips
- Tiled, pyramidal images (pyramidal OME-TIFF, OME-Zarr) read best over a network, because each view fetches only the tiles on screen.
- A disconnect does not lose anything you made: your projects never left your computer. Reconnect and the layers come back.